Prerequisites
To do this task you must have already deployed your vNet. If you need guidance doing that, I created a step by step guide for it right here.
Link to site
Configuration
To achieve this task there exist three ways:
-
using the Azure Portal and the GUI
-
Using Azure CLI
-
Using Azure PowerShell
using the Azure Portal and the GUI
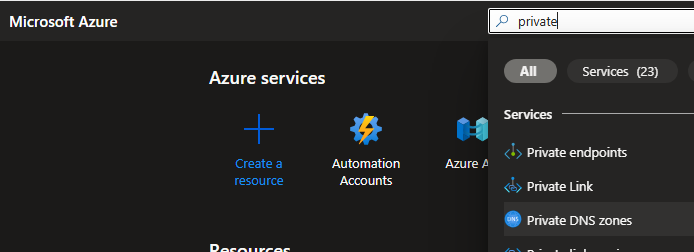
To achieve this via the Azure Portal, we first log in to Azure and search for private DNS zones.
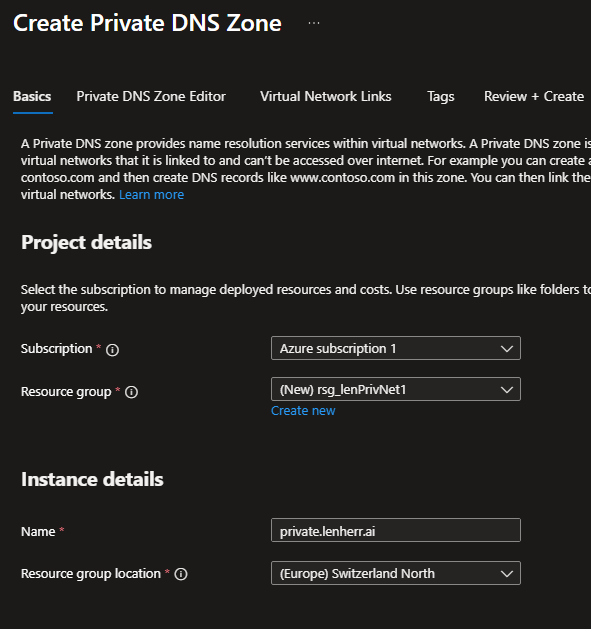
We create a new private DNS zone via the Create button and fill in the settings.
After creation we want to go to left-hand menu and expand Settings and click on virtual Network links.
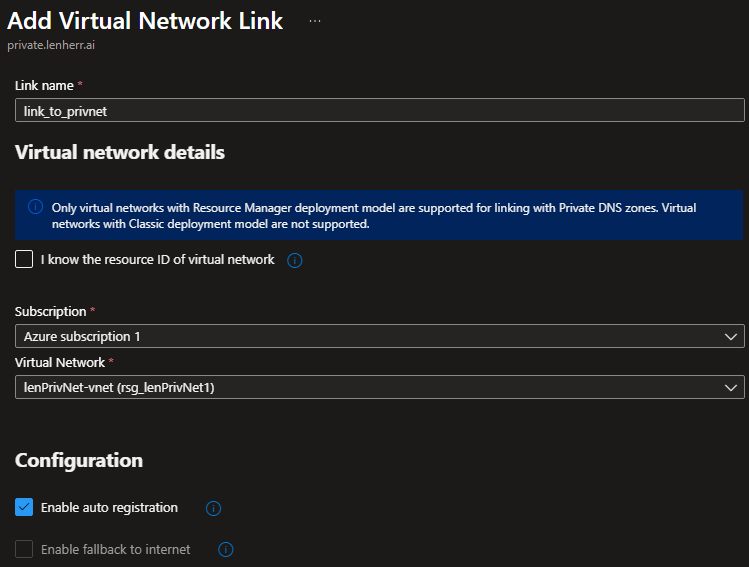
We give this resource a name, select the already created vNet and check the box next to Enable auto registration. Auto registration handles the creation and deletion of the host (A) records in this private DNS zone for us. If a client gets installed freshly in this vNet the link setting also creates that A-record in the private DNS zone, so we don’t have to add these records manually.
After successfully linking this vNet to our private DNS zone your netowrk link should look like this:

Using Azure CLI
To achieve this task using the Azure CLI you have to run 2 commands.
Firstly to create private DNS zone.
az network private-dns zone create \
  --resource-group rsg_lenPrivNet1 \
  --name private.lenherr.aiCode language: Bash (bash)
And for linking the vNet with Auto-registration enabled.
az network private-dns link vnet create \
  --resource-group rsg_lenPrivNet1 \
  --zone-name private.lenherr.ai \
  --name link_to_privnet \
  --virtual-network lenPrivNet-vnet \
  --registration-enabled trueCode language: Bash (bash)
Using Azure PowerShell
Using PowerShell you run two commands as well.
For creating the private DNS zone.
New-AzPrivateDnsZone -Name "internal.contoso.com" -ResourceGroupName "MyResourceGroup"Code language: PowerShell (powershell)ANd for linking the vNet with AUto-registration enabled.
# Get the VNet object first
$vnet = Get-AzVirtualNetwork -Name "MyVNet" -ResourceGroupName "MyResourceGroup"

# Create the link
New-AzPrivateDnsVirtualNetworkLink `
  -ZoneName "internal.contoso.com" `
  -ResourceGroupName "MyResourceGroup" `
  -Name "MyVNetLink" `
  -VirtualNetworkId $vnet.Id `
  -EnableRegistrationCode language: PowerShell (powershell)
Testing
After completing any of the steps above, you can verify it works:
-
Deploy a VM into that VNet
-
Wait a few minutes
-
Check the Overview page of your Private DNS Zone. You should see a new “A” record automatically created with the name of your VM and its private IP
