Prerequisites
To simulate a working streched cluster in Azure we need at least these resources:
-
two running servers in region 1
-
two running servers in region 2
-
one DC running in one of those regions
-
one quorum
-
two networks for each region / site
Resource groups
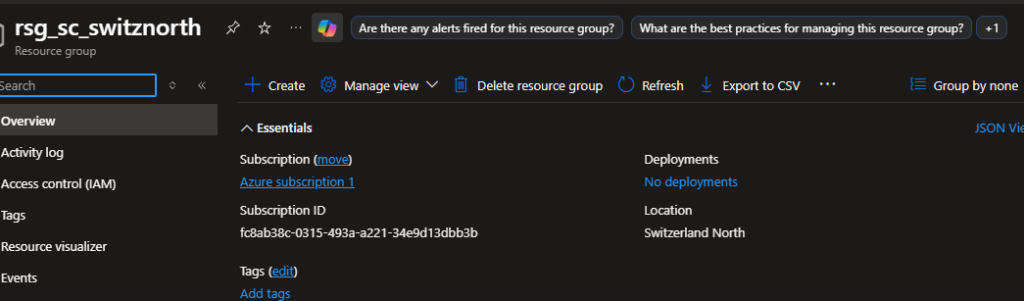
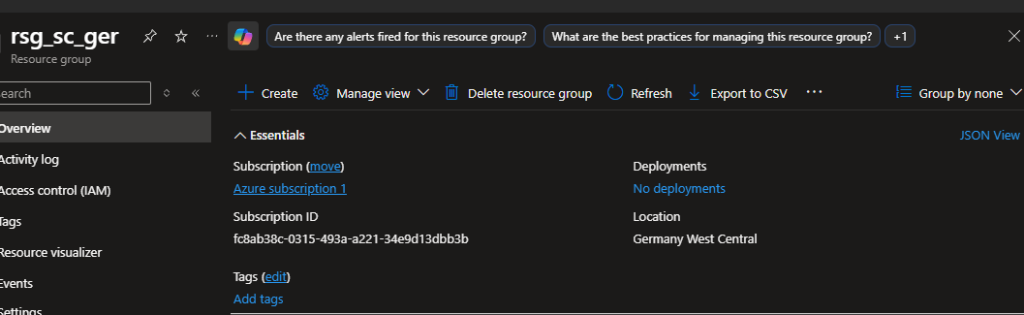
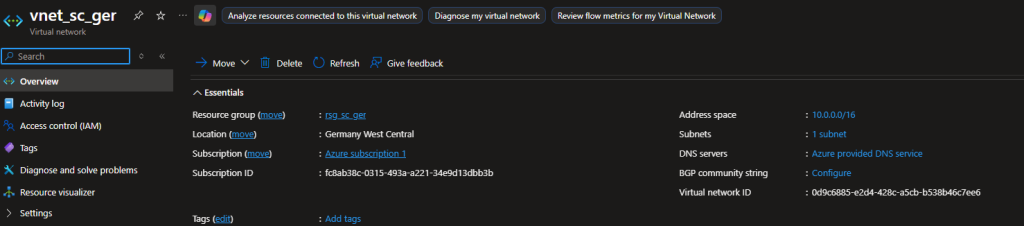
Firstly we create two resource groups in different regions. In my case I chose to put one resource group in the region “Switzerland North” and the resource group in the region “Germany West Central”.
Virtual networks
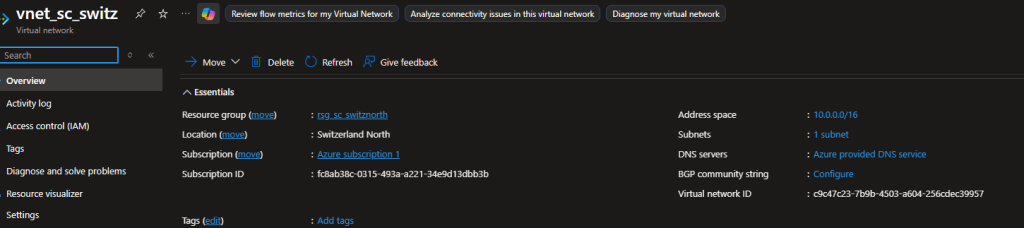
We create two virtual networks for each region.
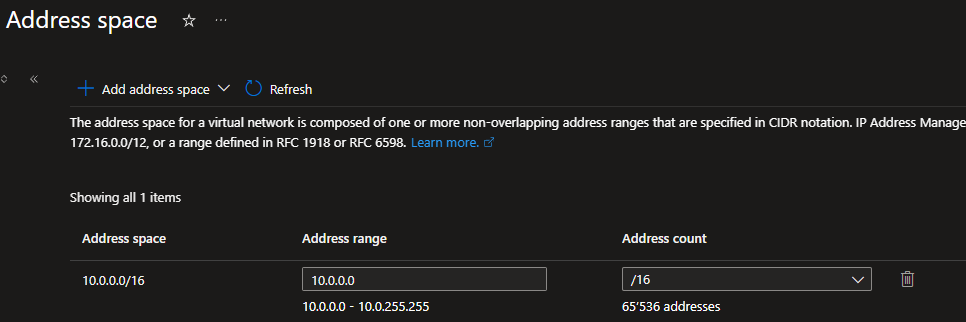
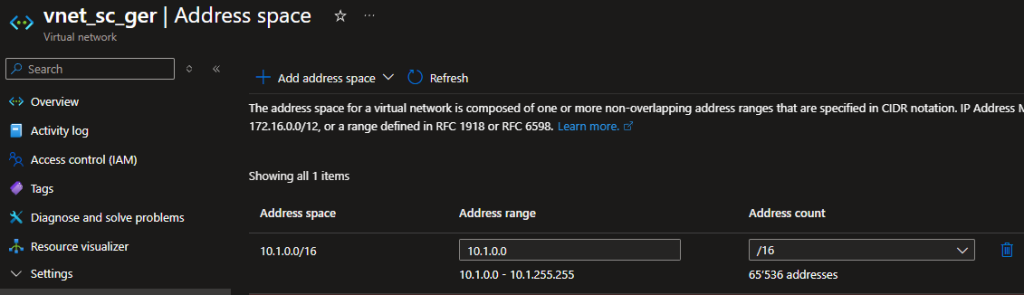
Address space
We choose two different address spaces for our two regions.
Domain controller
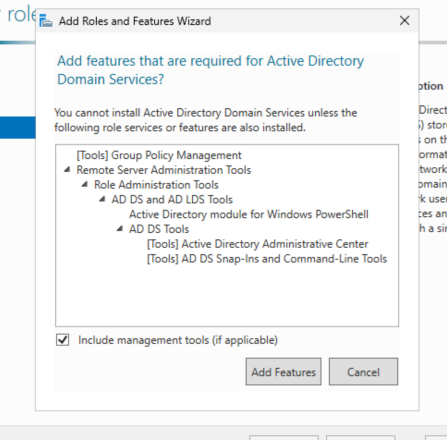
To simulate that we have a Active Directory domain running, we install a virtual DC in region one.
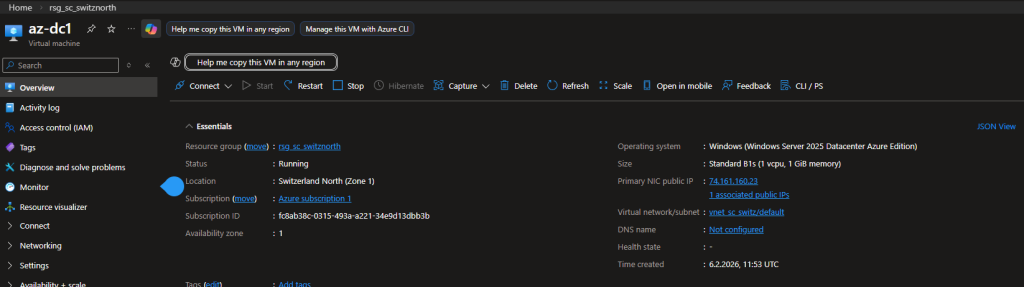
After creating the virtual machine we add the corresponding roles and features.
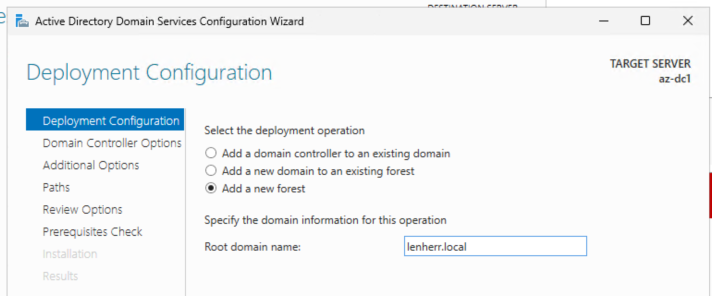
After promoting the virtual machine to a DC we add a new forest.
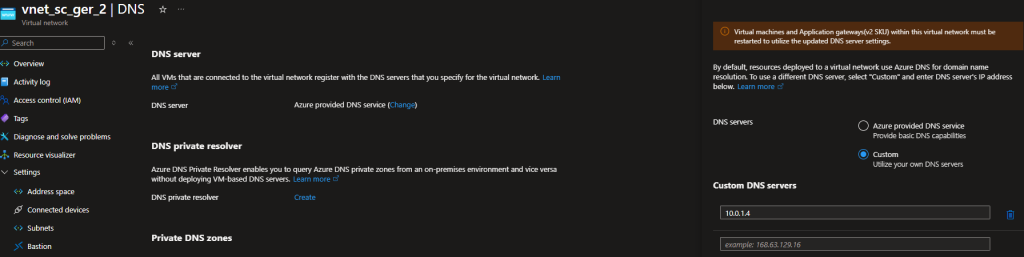
After promoting our virtual machine to a running DC we set the DNS server of the vNET of region 1 to the IP of your domain controller, to get DNS up and running for our following virtual machines.
Configuration
Availability set
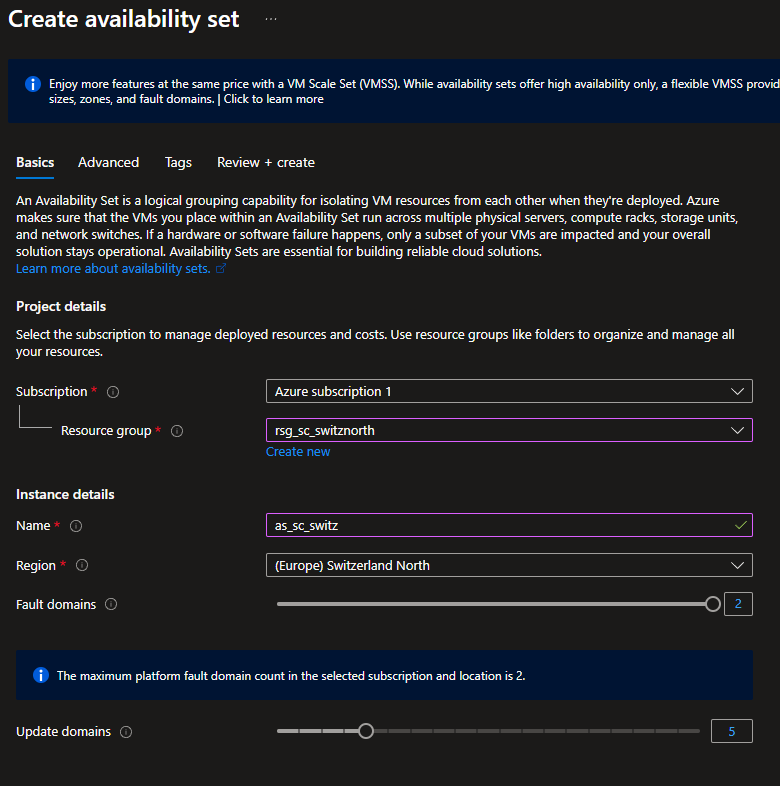
To get one failover cluster running for each region we create availability sets. In these availability sets we can define the number of fault domains and update domains.
With fault domain we protect ourselves from problems like hardware failure and with update domains we protect ourselves from downtime caused by an update process like Windows Updates.
Create the cluster machines
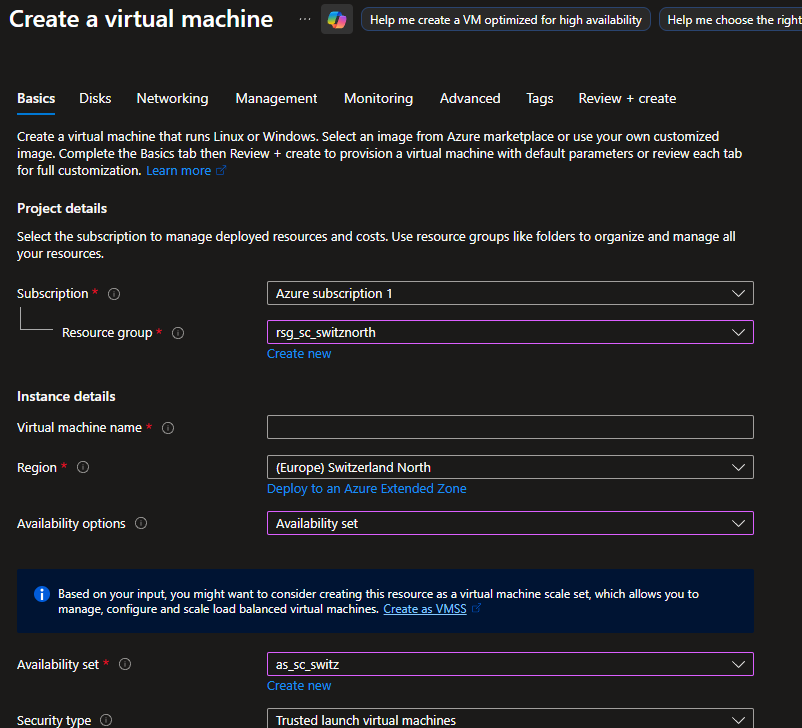
When creating these cluster machines we put the virtual machines in those availability sets to ensure these machines itself build a failover cluster. In my example the machines az-cl1 and az-cl2 in the region “Switzerland North” are in one availability set called “as_sc_switz” to get those failover mechanisms running.
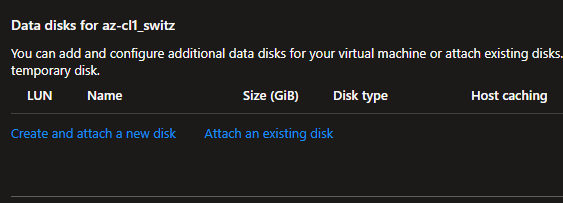
Another important step is the configuration of the disks of our cluster machines. For a failover cluster there are at least two disks needed. One for the data like the virtual machines running and one for the log files.
Important: The drive of the log file has to be fast, otherwise you get bottlenecked here!
Now we can start creating the other cluster machines in the region 2 (here “Germany West Central”).
Create the vNET peering
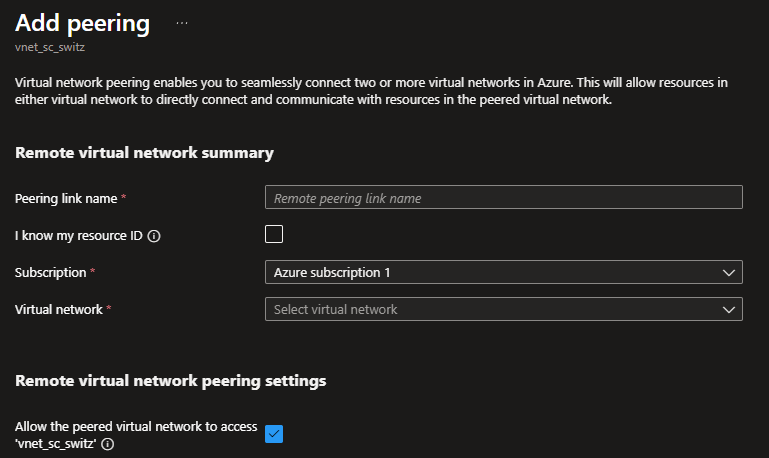
To get the communication running from one vNET to the other with ease, we create a vNET peering.
Important: Make sure vNET peering is the right choice for you, because the traffic flows through the Microsoft backbone but is not encrypted! If you need encrypted traffic you probably need another solution like S2S VPN or even ExpressRoute.
We give the peering a name and check the box to allow the vNET the access to the peered virtual network.
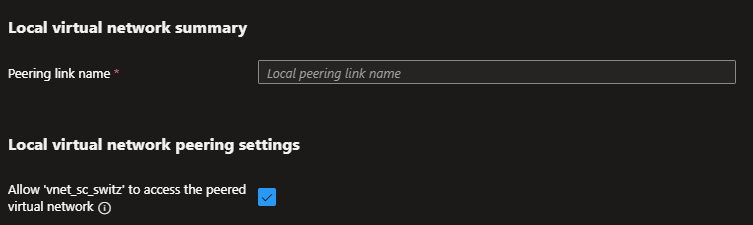
We configure the peering for our local virtual network.
Now we can configure the virtual network of region two with the custom DNS of our DC.
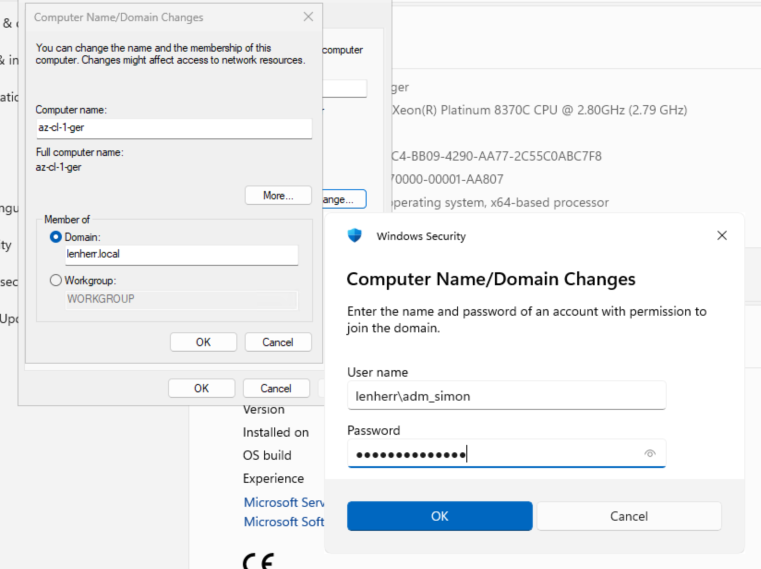
When we add the cluster machines of region two to the domain, DNS is taking place and we can join the domain.
Create the failover cluster
To create the failover cluster we run those commands in PowerShell.
New-Cluster -Name az-cl1 -Node "az-cl1-switz", "az-cl2-switz" -StaticAddress "10.0.1.100" -NoStorageCode language: PowerShell (powershell)In this command we give the cluster a name with the parameter -Name, we specify the nodes with the parameter -Node, we set the static IP address of the cluster with -StaticAddress, and we specify the -NoStorage option because we want our cluster up and running without any storage configured. We set up our S2D later on.
The same command we run for our second cluster in our region two.
Join all virtual machines to the domain
To get this up and running we join all the cluster machines to the same domain. Thanks to our vNET peering we can reach the DC even from region two.
Create the quorum
To rapidly create a quorum we create a storage account in both resource groups and add these storage accounts as a “Cloud witness” to get cluster. For making this happen we need the storage account name and the access key found in the settings of the storage account.
To add the quorum to the cluster werun this command.
Set-ClusterQuorum -Cluster az-cl1 -CloudWitness -AccountName <YourStorageAccountName> -AccessKey <YourAccessKey>Code language: PowerShell (powershell)Tip: If you are running both commands in one script, it probably will fail. Give the cluster a moment to set up all the entries correctly and run the Set-ClusterQuorum command again or implement a short pause after the first command.
Configure the storage
To configure the storage for our clusters we, again, run some commands in PowerShell to get this up and running quickly.
Enable S2D
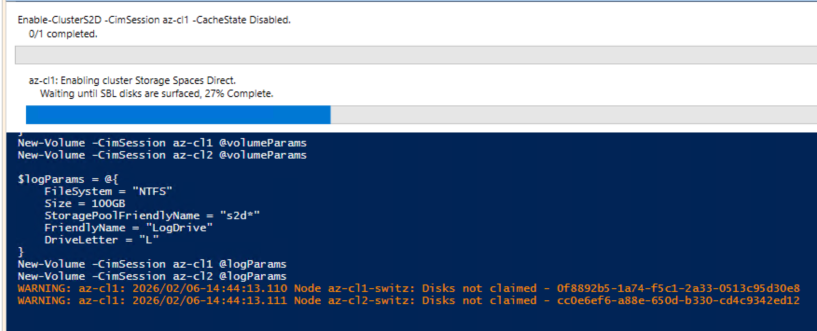
To enable Storage Spaces Direct we run these commands.
Enable-ClusterS2D -CimSession az-cl1 -CacheState Disabled
Enable-ClusterS2D -CimSession az-cl2 -CacheState DisabledCode language: PowerShell (powershell)
Create the volumes
To create the volumes we run these commands.
$volumeParams = @{
    FileSystem = "CSVFS_ReFS"
    Size = 500GB
    StoragePoolFriendlyName = "s2d*"
    FriendlyName = "DataDrive"
}
New-Volume -CimSession az-cl1 @volumeParams
New-Volume -CimSession az-cl2 @volumeParams

$logParams = @{
    FileSystem = "NTFS"
    Size = 100GB
    StoragePoolFriendlyName = "s2d*"
    FriendlyName = "LogDrive"
    DriveLetter = "L"
}
New-Volume -CimSession az-cl1 @logParams
New-Volume -CimSession az-cl2 @logParamsCode language: PowerShell (powershell)
These creates two volumes, one with the name “DataDrive” and one with the name “LogDrive”.
Important: Note the filesystem “ReFS” for the data drive. This is a must-have to get this up and running!
Configure Storage Replica
Grant access
To get Storage Replica up and running we have to grant one cluster access to the other and vice versa. To configure these we run these commands.
Grant-SRAccess -ComputerName "az-cl1-switz" -Cluster "az-cl2"
Grant-SRAccess -ComputerName "az-cl-1-ger" -Cluster "az-cl1"Code language: PowerShell (powershell)
Because this command is really confusing I try to explain it a little bit more. Try to read it like this:
We grant the Cluster where the -ComputerName is in, access to the cluster defined with -Cluster. Instead of just giving access to one computer, we give access to the whole cluster.
Create a Storage Replica Partnership
To create a working connection between our clusters we create a new partnership between those. To create a partnership for Storage Replica we run this command.
New-SRPartnership `
    -SourceComputerName az-cl1 `
    -SourceRGName "rg01" `
    -SourceVolumeName "C:\ClusterStorage\DataDrive" `
    -SourceLogVolumeName "L:\" `
    -DestinationComputerName az-cl2 `
    -DestinationRGName "rg02" `
    -DestinationVolumeName "C:\ClusterStorage\DataDrive" `
    -DestinationLogVolumeName "L:\"Code language: PHP (php)
All the parameters here should be self explaining. We create a partnership which is syncing in block level from cluster “az-cl1” to cluster “az-cl2”.
Validation
To validate our cluster is up and running we can check the partnership of our cluster with this command.
Get-SRGroup | Select-Object Name, ReplicationMode, StatusCode language: PowerShell (powershell)The output should say something like “Synchronous”.
Lessons learned
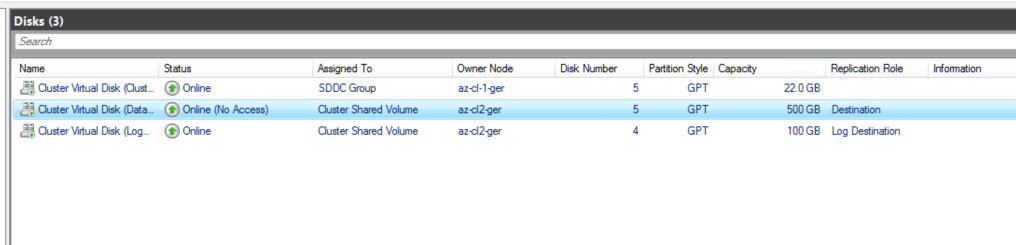
First I saw this, I was shocked and thought my cluster is not working as intended, because one disk is showing as “Offline”, but quite the opposite is happening, it exactly shows it is working, because we have a block level synchronization running between the disk of cluster one and the disk of cluster two only on one disk can be written at a time to impede a data corruption.